Do it Yourself
-
Posted by
A great way to save money is doing your own home repairs. Some repairs and remodels are well-known DIY favorites—painting the interior, laying plank flooring, replacing electrical outlets. A number of other projects might not seem DIY-friendly at first, but they actually are.
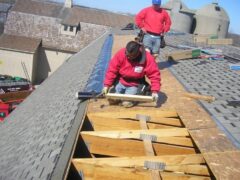
Repair Your Gutters and Downspouts
One of the worst things for your home’s foundation is large amounts of water. That’s exactly what happens when your gutters or downspouts are malfunctioning. Saving thousands of dollars in foundation repairs can be as inexpensive as spending $100 to $200 on gutter and downspout repair pieces, along with accessories, all found at your local home center. As long as you don’t mind standing on a ladder, these repairs are not difficult at all and they will pay off many times over.
Install Plank Flooring
Few other home projects are as friendly to a do-it-yourselfer as installing plank flooring. Plank flooring, in either vinyl or laminate form, connects side to side with fold-and-lock joinery. Because these are floating floors, they install directly on top of the subfloor or an underlayment with no glue or nails. As if that wasn’t easy enough, either type of flooring cuts with a hand saw or utility knife.
Seal Your Asphalt Driveway
When your asphalt driveway is tired and faded, it’s time to seal it with driveway sealer. This liquid product isn’t the same as actual hot or cold asphalt resurfacing product. Rather, it is a thin liquid that you brush across the surface of the driveway with a broom. It’s also a good opportunity to seal cracks in the asphalt before you spread out the sealer.
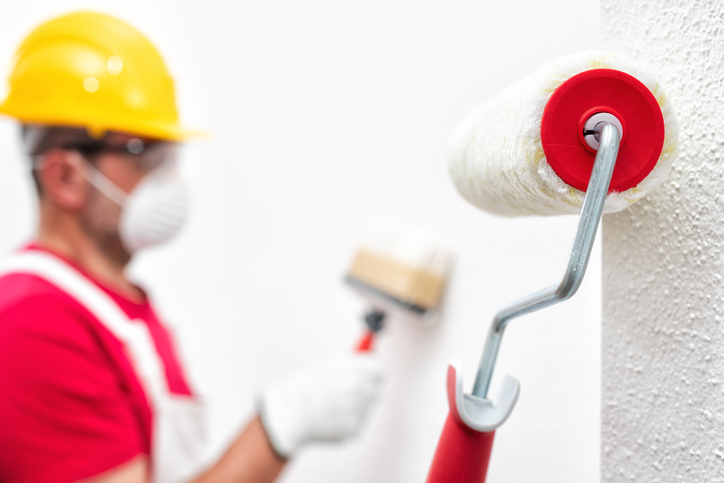
Paint your house
This is one of the easiest home repairs, here you can see some steps I recommend you to follow.
- Wait for dry weather.
Humidity means drips and slow drying, so avoid painting on a rainy day. - Do a thorough visual inspection and prep.
Any cracked, flaking, or peeling areas need to be lightly sanded or scraped (and then thoroughly rinsed) before applying new primer and paint. - Buy high-quality brushes, roller covers, and painter’s tape.
If you’re splurging on great paint, you definitely don’t want to pinch pennies on the application. Good brushes and roller covers give excellent coverage so that you don’t waste time and paint on re-application. - Know your nap.
The more texture your walls have, the thicker the nap you’ll want on your roller cover so that it can reach into crevices and give complete coverage. - Protect anything you don’t want painted.
You will never regret the time you spend covering floors, furniture, and hardware before you begin a paint project. Drop cloths are a must, and small plastic sandwich bags secured with tape are an easy way to protect doorknobs. - Remove light switch and outlet covers.
If you’re impatient, you’ll be tempted to skip this five-minute step, but don’t. - Use primer.
Paint-and-primer combinations are fine if you already have a clean, smooth surface, but if there are any issues with the wall or it’s been more than eight years since you last painted, bite the bullet and go with a separate primer. - Box your paint.
Get your salesperson to help you with a realistic estimate of how much paint you’ll really need so that you can buy it all at once. Then, instead of using one gallon at a time, combine all the paint into one large container and mix it thoroughly. - Paint from top to bottom.
After you’ve cut in your edges at the ceiling and baseboard using a brush, use your roller to apply paint from the ceiling downward.